Roof leaks are minor to begin with, but can result in mold, destroyed insulation, and expensive structural corrosion. Prevention of roof leaks starts by identifying the initial drip and taking immediate action. Quick roof leak repair at the first sign of trouble saves time and money in the long run.
This guide shows the simple steps that can be managed at home before the spread of water. You will get to know how to carry out simple roof leak detecting techniques, quick roof leak repair tips, and safety hints. In case of a very steep slope or a large extension of damage, cease and contact a licensed roofer. Safety first.
How to Detect Roof Leaks?
Tracing a roof leak is often more puzzling than patching it. Water sneaks sideways and downhill along rafters, insulation, and wiring before it finally shows itself. Begin your hunt on a clear, dry day so fresh drips won’t distract you. Take a bright flashlight to the attic and walk on the joists, not the drywall. Scan for dark stains, gray mold dots, shiny nail points, or frost rings. Touch the suspect sheathing with the back of your hand; damp wood feels cool and slightly spongy. That simple touch test forms the heart of practical roof leak detection because moisture meters are helpful but not required.
Step two is an outside scan. The most common culprits include missing shingles, curled tabs, cracked vent flashing, loose ridge caps, blocked gutters, and torn rubber boots around plumbing stacks. It is always safer to look at steep places when you are on the ground. Examine metal panels with an eye out for no rust streaks, slipped screws, and overlay gaps. For flat roofs, note ponding rings, seam blisters, and punctures from foot traffic or dropped tools.
If signs remain unclear, run a controlled hose test. One helper stays in the attic with the light while you wet one small section at a time, beginning below the eaves and working upward. Let the water run for five minutes per spot. The watcher shouts the moment a drip appears, then marks the area with chalk or painter’s tape. Shut off the water, allow surfaces to dry, then outline a sensible repair plan carefully before touching any tools. A precise roof leak repair plan ensures the problem is fully fixed the first time.
How to Repair a Leaking Roof from the Inside?

The work in an emergency usually begins in the attic since the rain can continue for several hours. Place a sheet of plywood over joists to provide a stable working platform. Use gloves, goggles, and a dust mask.
Roofing tape or a peel-and-stick patch is the most effective method of fixing a roof leak on the inside in the case of small holes. Clean the surface with a rag. Press the tape on the hole and extend at least two inches past every edge. For larger tears, cut a square of thin plywood or sheet metal and coat the back with roofing cement. Press it over the leak and add screws into the rafters if wood backing exists. Seal the edges with more cement. This quick roof leak repair will hold for weeks until you can work outside.
Do not forget to stop the roof leak in the attic condensation, too. Improve airflow by adding soffit vents at the eaves, ridge vents along the peak, or a compact solar attic fan. Moist attic air turns into water drops and tricks many owners into thinking the roof leaks. Good airflow saves repair time later.
How to Stop a Roof Leak from Rain?
Outdoor repair lasts longer than indoor patchwork. Plan to work when the roof is dry to avoid slips. Prepare ladder stabilizers, a harness, and shoes with a good tread.
- Replace damaged shingles: Slide a flat bar under the shingle row above the gap to lift nails. Pull the old shingle out. Insert the new shingle, align the tabs, and nail it with galvanized roofing nails. Cover the nail heads with asphalt sealant.
- Repair flashing: Take out all the nails that are attaching your metal and lift it, and clean off the old sealant. Cut new flashing to fit and push it under siding or shingle layer above, nail into place, and seal edges to flashing with roofing caulk.
- Swap cracked tiles: Remove the two tiles above, pull out the bad one, and put in the new tile. Hold with a small polyurethane roofing adhesive so as not to crack the tiles close by.
- Use a tarp for heavy rain: Cover the area with a woven polyethylene tarp. Anchor it with 2×4s screwed through the tarp into the roof decking. Wrap the leading edge around a 2×4 and screw it down just under the ridge so rain sheds past the patch. This keeps water out until a permanent roof leak repair is finished.
Ceiling Leaking During Rain
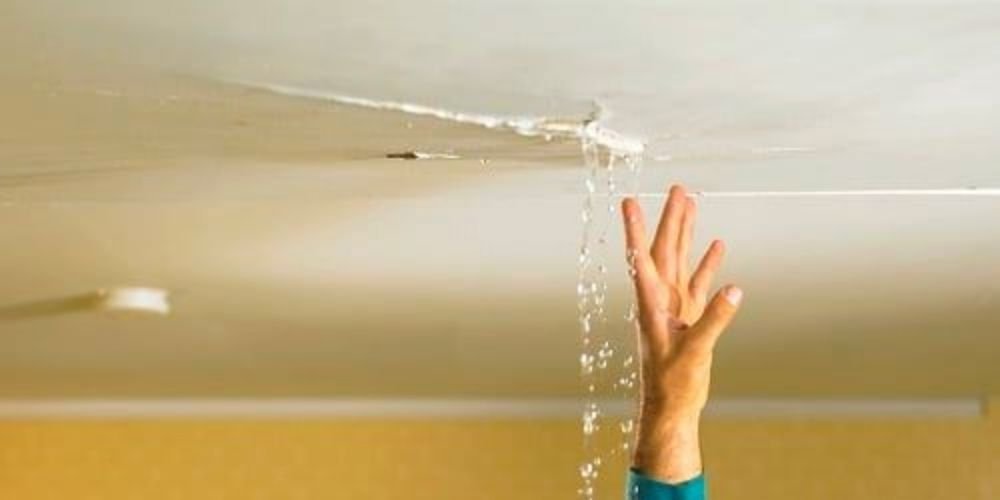
When water appears on the ceiling of the drywall, the goal is to relieve pressure and protect belongings. Move furniture and cover the floor with plastic. Use a screwdriver to poke a small hole in the lowest point of the bulging paint. Let the water drain into a bucket. This prevents a sudden ceiling collapse.
After the rain ends, peel back wet insulation in the attic to allow wood to dry. Point a fan toward the damp area for at least 48 hours. In the event of the appearance of mold spots, clean with a solution of one cup of bleach in a gallon of water. Wear gloves and goggles.
When the source of leakage is repaired in the outside part, patch up the ceiling. Cut out the wet drywall back to the center of the nearest joists. Install a new section of drywall, tape the joints, cover the joints with joint compound, sand perfectly smooth, prime, and paint. Apply mildew-resistant primer and prevent the stains from relapsing.
Conclusion
Even a slow drip can stain drywall, buckle flooring, and spark mold growth. Move fast, and you stop roof leaks in attic cavities, cut repair costs, and guard the frame. Use the guide above for sound roof leak detection, quick roof leak repair tactics, and dependable exterior repairs. When water spreads across many shingles, or if you lack harnesses and a stable footing, the best way to repair a roof leak is to bring in a licensed contractor; expert crews finish safely and meet code.
Need proven help right now? Book an inspection today or call the IAQ Experts anytime.