Most people treat dryer vent cleaning as something they can keep putting off, but that small delay can lead to serious problems.
A clogged dryer vent makes your machine work harder, wastes electricity, damages clothes, and increases fire risk.
According to safety reports, around 16,000 residential dryer fires occur each year, leading to 10 deaths and nearly $239.7 million in property damage over a recent three-year period.
The most common cause behind these fires is simple, not cleaning the dryer vent. Keeping your vent clean is a basic maintenance step that protects your home, saves money, and helps your dryer run safely.
This guide explains home dryer vent cleaning, how to clean out dryer vent ducts, how often to clean dryer vent systems, and when professional dryer duct cleaning may be needed.
Signs Your Dryer Vent Needs Cleaning
A clogged dryer vent usually gives warnings before it turns into a bigger problem. The issue is, most people ignore these signs thinking the dryer is just getting old. If you notice any of the symptoms below, it’s time to clean your dryer vent before it affects safety, energy bills, or your clothes.
Clothes taking longer to dry
If one load is suddenly taking two or even three cycles to dry, restricted airflow is often the reason. Lint buildup blocks the vent, trapping hot air inside the dryer instead of letting it escape properly.
Burning or hot smell
A burning smell is not something to ignore. It usually means lint has collected inside the vent and is overheating. Since lint is highly flammable, this can quickly turn into a serious fire risk.
Dryer and laundry room feel unusually hot
When the vent is clogged, heat has nowhere to go. You may notice the dryer feels extremely hot, the laundry room temperature rises, or clothes come out hotter than normal. This extra heat puts stress on the dryer and increases the chance of damage or fire.
Musty or damp-smelling clothes
If clothes still smell damp or musty after a full drying cycle, moisture isn’t escaping properly. A blocked vent prevents humid air from leaving, leaving clothes feeling less fresh even after drying.
More lint than usual
Seeing excessive lint around the dryer, behind it, or near the vent opening is a clear sign of buildup inside the system. The more lint that collects, the harder your dryer has to work
Tools Needed to Clean a Dryer Vent
Before starting, gather the following tools:
- Vacuum cleaner with hose attachment
- Dryer vent cleaning brush
- Screwdriver or nut driver
- Protective gloves
- Dust mask
Step-by-Step: How to Clean Dryer Vent Systems
Step 1: Turn Off Power and Prepare the Area

Start by unplugging the dryer from the power outlet. If you have a gas dryer, shut off the gas supply as well. This is a safety step and should never be skipped.
Once done, gently pull the dryer away from the wall to access the vent connection. Keep gloves and a dust mask handy since lint buildup can be messy.
Step 2: Disconnect the Dryer Vent Hose
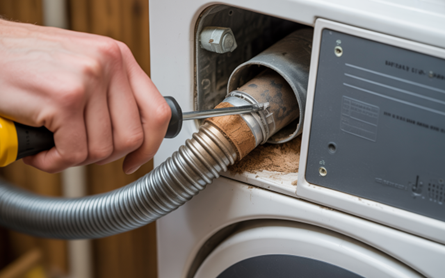
Locate the vent hose at the back of the dryer. Loosen the clamp or tape holding it in place and carefully disconnect the hose from both the dryer and the wall vent.
If the hose is made of plastic or thin foil and looks damaged or crushed, it’s best to replace it with a rigid or semi-rigid metal duct for better airflow and safety.
Step 3: Remove Loose Lint from the Vent Opening
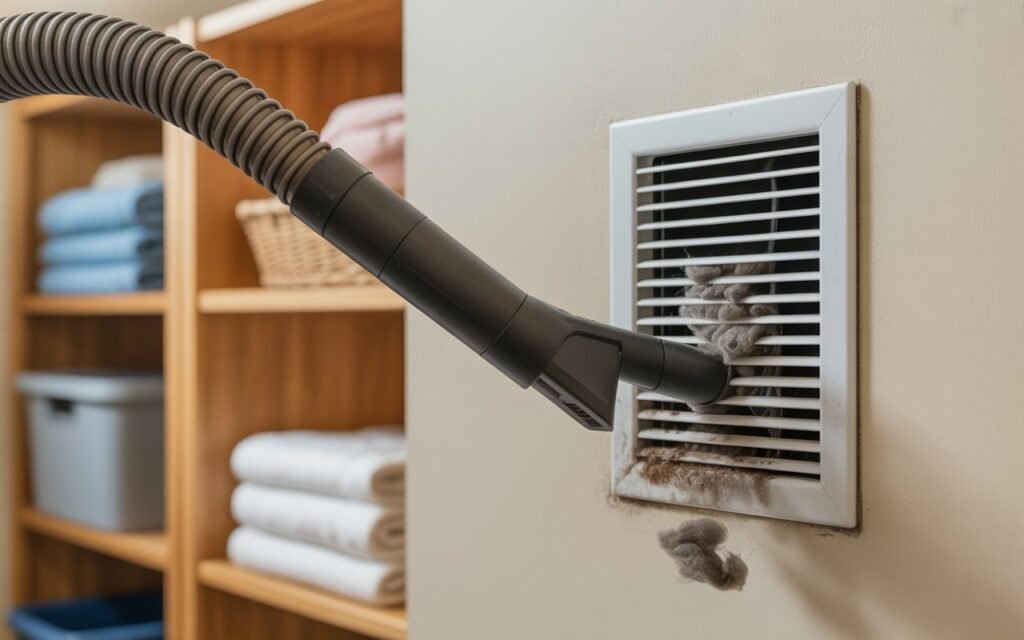
Use a vacuum cleaner with a hose attachment or a shop vacuum to remove visible lint from the dryer outlet and the wall vent opening.
This step clears surface debris and makes deep cleaning easier in the next step.
Step 4: Deep Clean the Vent Duct
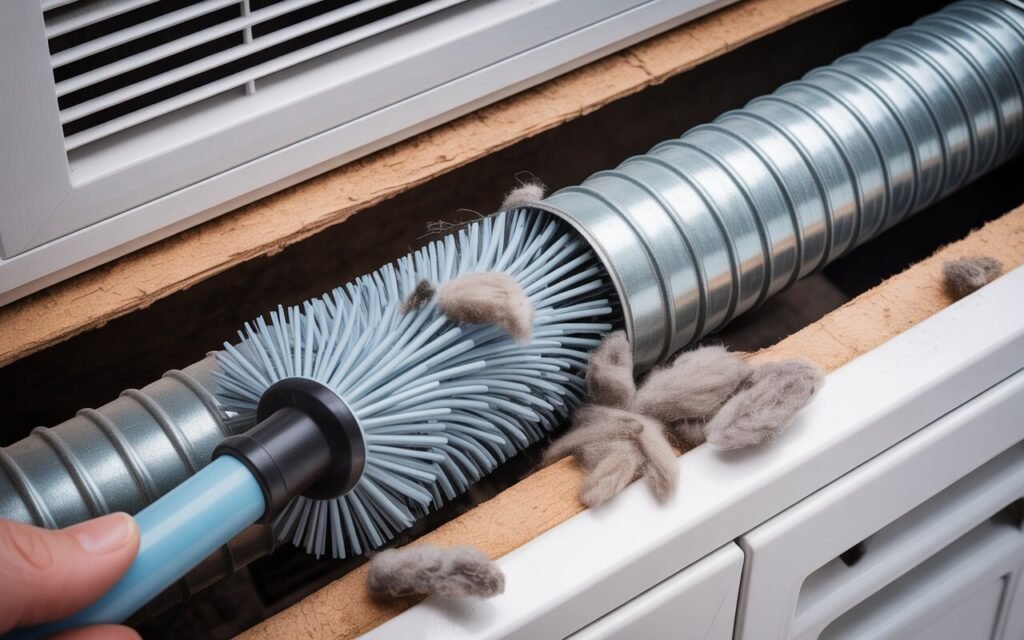
Insert a dryer vent cleaning brush or flexible rod brush into the duct. Slowly push it inside while rotating the brush to loosen lint stuck to the inner walls.
Pull the brush out, remove collected lint, and repeat until minimal lint comes out.
For long or curved vents, clean from both ends if possible to ensure the entire duct is cleared. This step is the most important part of dryer air duct cleaning and improves airflow immediately.
Step 5: Clean the Exterior Vent
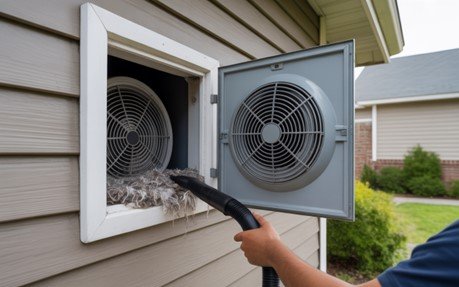
Go outside and locate the dryer vent cover. Remove the cover or flap and vacuum out lint, dirt, and debris.
Make sure the vent flap opens and closes freely and is not blocked. A stuck or clogged exterior vent can restrict airflow even if the inside duct is clean.
Step 6: Clean the Lint Trap and Lint Trap Housing
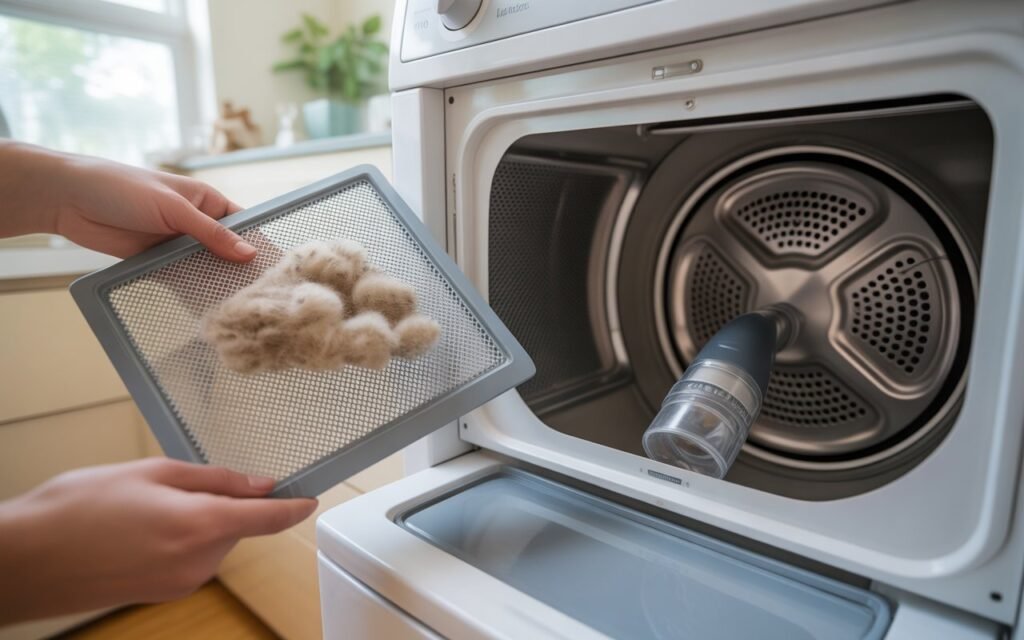
Remove the lint screen from the dryer and clear off any lint by hand.
Next, use a vacuum attachment to clean inside the lint trap housing, where fine lint often settles and goes unnoticed.
If the lint screen has residue buildup, wash it with warm water and mild soap, then let it dry completely before reinstalling.
Step 7: Reconnect the Vent and Reposition the Dryer
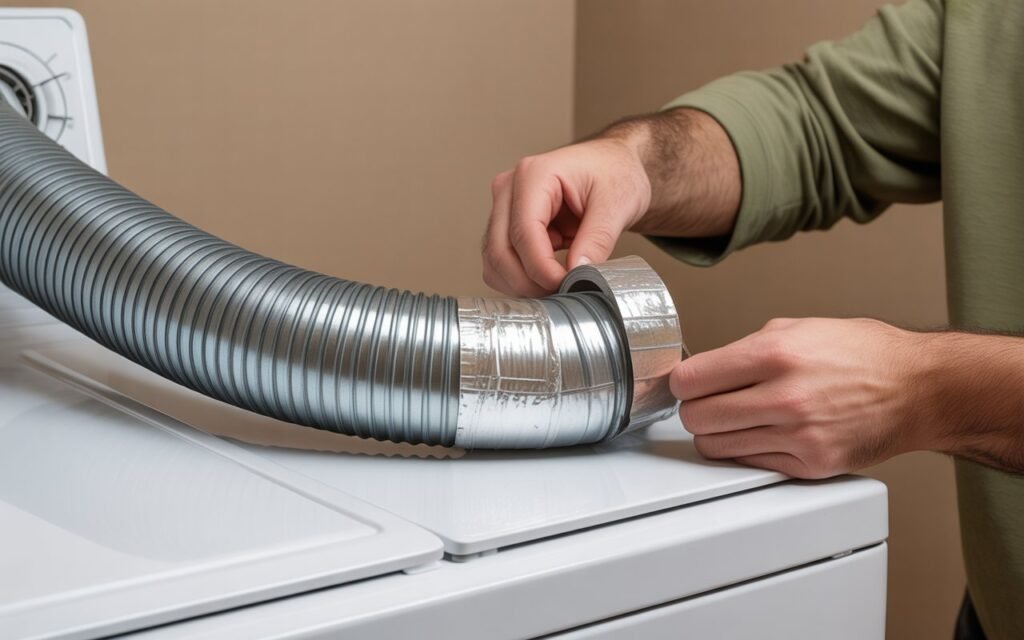
Reconnect the vent hose securely to the dryer and wall vent using clamps or UL-approved foil tape. Avoid regular duct tape, as it dries out and fails over time.
Carefully move the dryer back into place, making sure the vent hose isn’t kinked or crushed.
Step 8: Test the Dryer
Plug the dryer back in and turn the gas supply back on if applicable.
Run the dryer on an air-only or no-heat cycle for 10–15 minutes. This helps clear any remaining loose lint and confirms proper airflow through the vent.
How Often to Clean Dryer Vent Ducts
You should clean your dryer vent at least once a year to keep your dryer working safely and efficiently, and households that run laundry frequently may need cleaning every six months.
Regular use causes lint and dust to build up inside the vent, which can slow drying times, restrict airflow, and make the dryer work harder than necessary.
If clothes take longer to dry, feel unusually hot, or the laundry area heats up quickly, these are early signs that the vent needs attention. Beyond performance issues, lint buildup is a serious fire hazard since it is highly flammable.
Keeping your dryer vent clean not only improves drying efficiency but also reduces fire risk, lowers energy use, and helps extend the life of your dryer. Regular home dryer vent cleaning is one of the easiest ways to prevent expensive repairs later.
Also Read – How Often Should You Have Your Air Ducts Cleaned
Troubleshooting Common Dryer Vent Issues
Even with regular cleaning, some dryer vent issues can still occur, such as pest infestations or vent damage. If you notice signs of pests in your dryer vent, like nests or droppings, it’s best to call a professional. IAQ can help safely remove the infestation and install pest-proof vent covers to prevent the issue from coming back.
You should also inspect your dryer vent from time to time for any signs of damage. Small tears in flexible ducts can sometimes be fixed with metal duct tape, but larger damage usually needs proper repair or replacement. IAQ’s experienced technicians can inspect the full vent system and fix issues early, helping you avoid bigger problems and safety risks later on.
If your vent line is long, has multiple bends, or is difficult to reach, booking professional dryer duct cleaning is often the safest and most effective option.
Final Thoughts
Dryer vent cleaning is one of those small home tasks that delivers big results. It improves dryer performance, cuts down energy waste, and most importantly, reduces fire risk. If your vent is easy to access, cleaning it once a year is a smart habit every homeowner should have.
However, if your vent run is long, hard to reach, or showing signs of heavy buildup, professional cleaning isn’t overkill, it’s the safer choice. Our take is simple: don’t wait for warning signs or problems to force action. A clean dryer vent is about prevention, safety, and protecting your home, not just maintenance.